
It’s Friday night and you’ve invited the guys over for a round of your special recipe Old Fashioneds.
Let’s see… Woodford Reserve Batch Proof bourbon. Check.
Angostura traditional and orange bitters. Yep.
Your homemade Demerara syrup. Got it.
And… You hold your Waterford crystal double old fashioned glass against the lever labeled “
Um… No.
If you care at all about presentation, and anybody reading this most likely does, the
Or? Not…
If you have any experience with cocktails, you certainly understand the beauty of a drink served with a good-sized block of crystal-clear
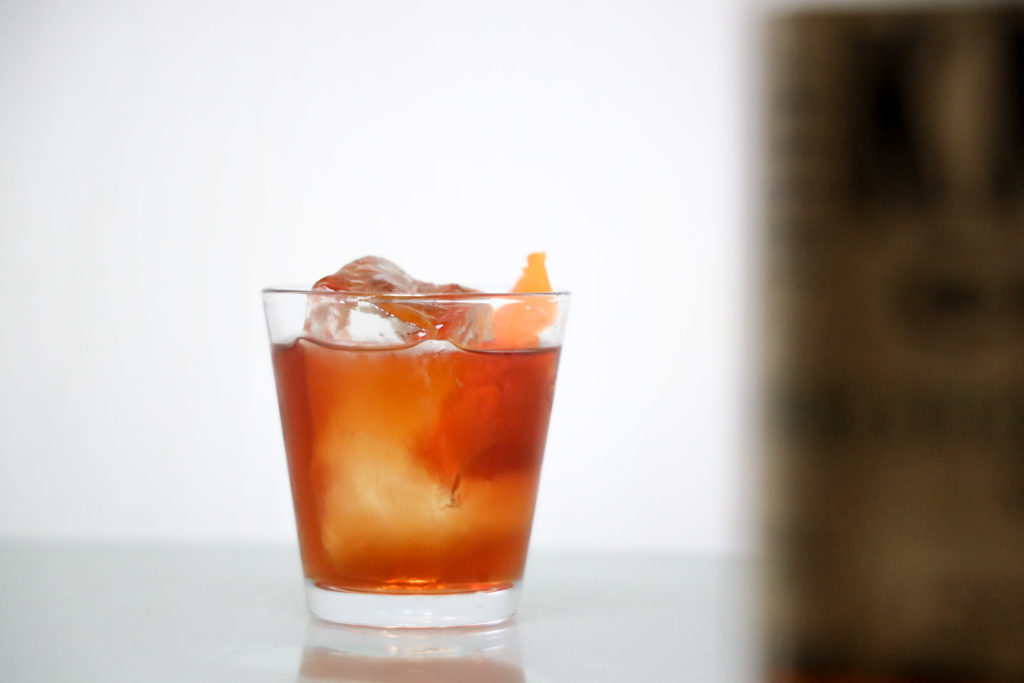
What This Is and Is Not
First, this is not intended to be the final word on
In fact, we recommend you take a look at the book Liquid Intelligence to learn more about the science of drinks.
This is intended to be a practical, how-to guide to creating presentation-worthy
That being said, it helps to have a little background on why you can’t get clear
Why Your Ice Is Not Clear: The Basics Of How Water Freezes
With a traditional
Fundamentally, creating clear
As the
The trick is to create a space that will accommodate a block of
There are lots of variations on how to do this including some “off the shelf” systems you can buy on Amazon that I think are too expensive and/or make too few cubes at one time.
Luckily, we’re here to show you how to do it (relatively) easily, on the cheap and make bags full of beautiful clear
Fake News: Things That Will Not Make Clear Ice
Before we get started, here’s a quick summary of ways you cannot create clear
- Use boiled water.
- Use distilled water.
- Use boiled, distilled water.
If it makes you feel better you can certainly use any of these in the process I’m about to describe but they won’t help make your
How To Make Clear Ice In Your Very Own Kitchen: Things You’ll Need:
In order to accommodate the directional freezing we talked about, you’ll need a small insulated cooler that will become a giant
A small cooler
I’ve found that an Igloo 9-quart Island Breeze Cooler is perfect for the job. Prices seem to fluctuate on Amazon a bit but I got mine for 10 bucks. I’ve found this to be the best balance of size and practicality, although the only real requirement is to use an insulated cooler that will fit in your freezer.
Remember these bad boys? No trip to the beach was complete without it. And now for just a few bucks, you can put this cooler in your....freezer? Your sexy clear cubes will thank you.
A 10” serrated edge bread knife.
You’ll need a 10” knife in order to create a scored line from edge to edge on your block that allows it to be sectioned off. Here’s one option:
Making clear ice? You're gonna need a big ass knife to chop it up into cubes. This is a solid option that we've used with a lot of success.
A hammer
I’ve found a metal hammer works better than a rubber mallet… It just seems to deliver a sharper impact when you’re cleaving the
What can we say? It's a....hammer. You probably already have one, but if you don't? This is a solid option for helping you smash that ice into cocktail sized pieces.
Ice chipper
Some means of holding your
There's a lot this bad boy can do, but we use it mostly to not slice our hands open on the aforementioned bread knife. For less than 10 bucks, seems like reasonable insurance to you know, keep your hand.
Creating Clear Ice for Cocktails: The Process
Step 1: Fill The Cooler
Fill the cooler about ¾ of the way with water. Tap water will work just fine but here’s your chance to use that triple boiled, twice distilled, Nepali glacier water if you think it will help (it really doesn’t).
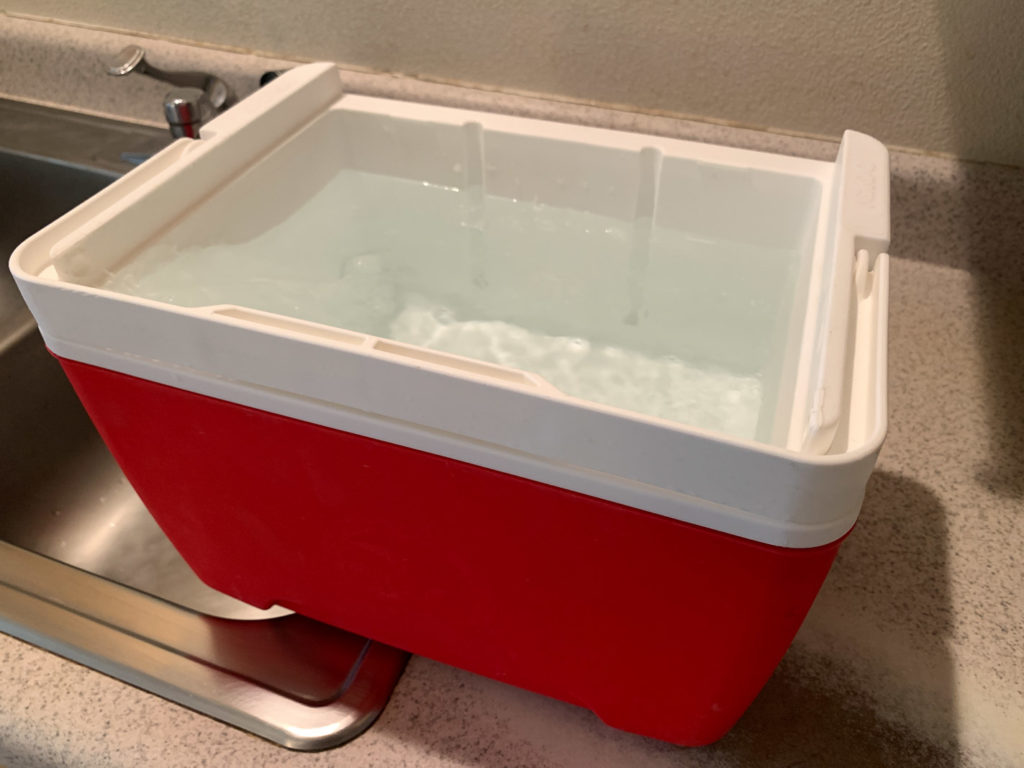


Step 2: Freeze For 17 Hours
The amount of time you leave it in the freezer will involve a little trial and error depending on the specifics of your freezer and how thick a slab you want.
In my freezer, I’ve found that around 17 hours gives me the size I like to work with.
Step 3: Release The Clear Ice Block
Once frozen, remove the cooler, turn it upside down in your sink and wait. You can just leave it on the counter if you want but be aware that when the
Resist the temptation to “hurry” the process along. Almost anything you do to try and speed up releasing the
There will probably be a hollow “
At this point, your block of
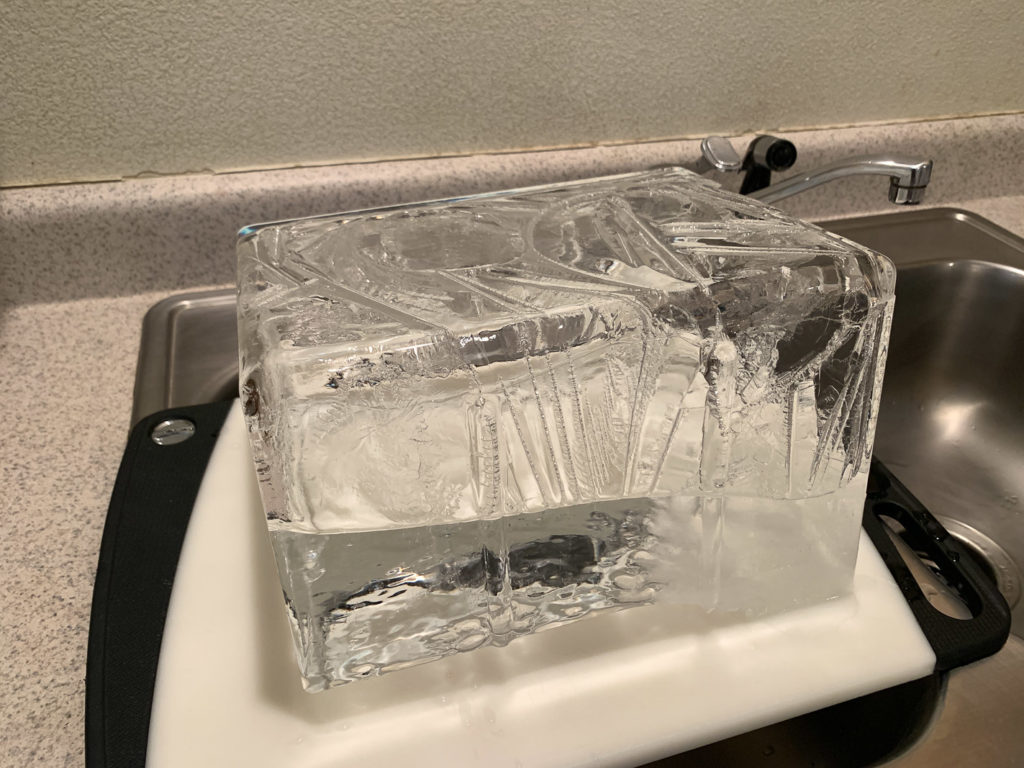


This is where creativity and personal preference come into play. You may be a person who prefers large jagged chunks of
If you’re looking for something more in cube form, it’s time to break out that knife and hammer.
Step 4: Cut Into Slabs Then Cubes
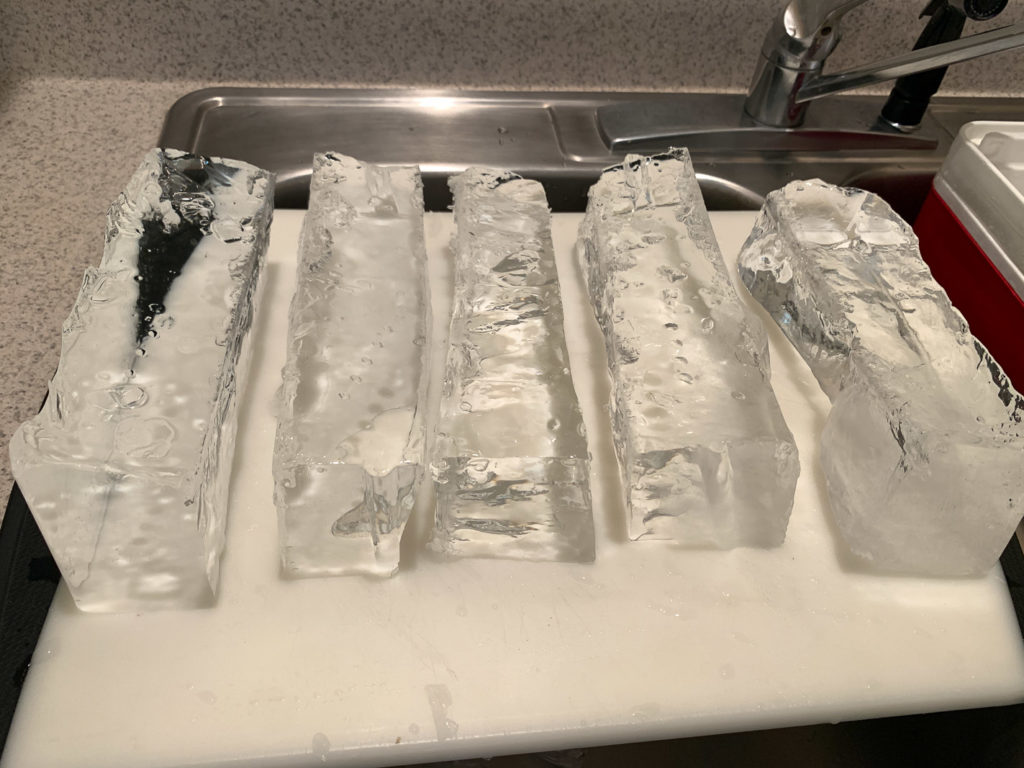


Be advised that if what you’re really after is a 2” perfectly square cube with nice smooth edges, all of this may not deliver the results you’re looking for. The process of “slicing” the
If you’re looking for perfect, then well, you may want to consider a bandsaw.
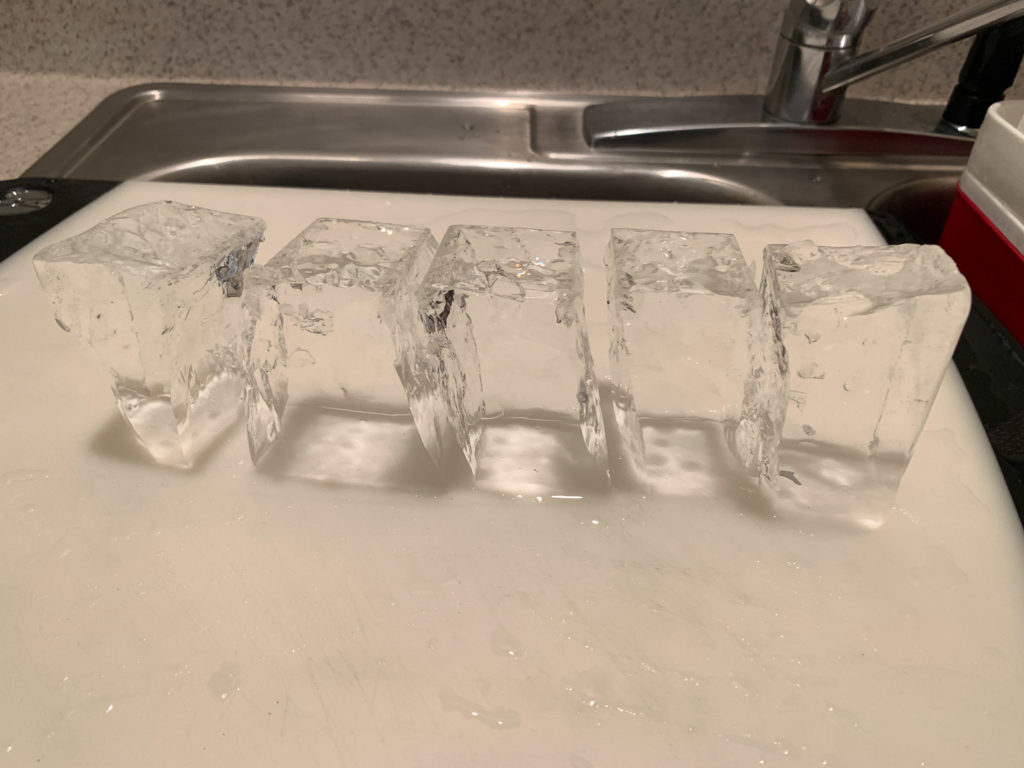
Personally, I like a rather large “squarish” cube with lots of rough edges. I think it just adds more character to the presentation and can catch the light in interesting ways.
First, you’re going to cut the large piece into long “loaves” of
You only need to score the surface with the knife. Depending on how thick your slab is, you’ll want to saw down maybe an eighth of an inch into the surface.
While leaving the knife in the line you just created, tap the back of it with your hammer. If all goes well, a couple of sharp raps should do the trick and a nice slice will break off. Sometimes, again mostly depending on how thick a slab you’re working with, it may take several taps of the hammer to get it to break. You shouldn’t ever have to take a full swing at it.
Once you’re finished cutting into strips, just repeat the process to section into smaller cube-sized pieces.


Finishing Up: Clear Ice Afterglow and Bonus Tips
- Using the Igloo cooler I usually get around 25-30 good-sized cubes from one batch.
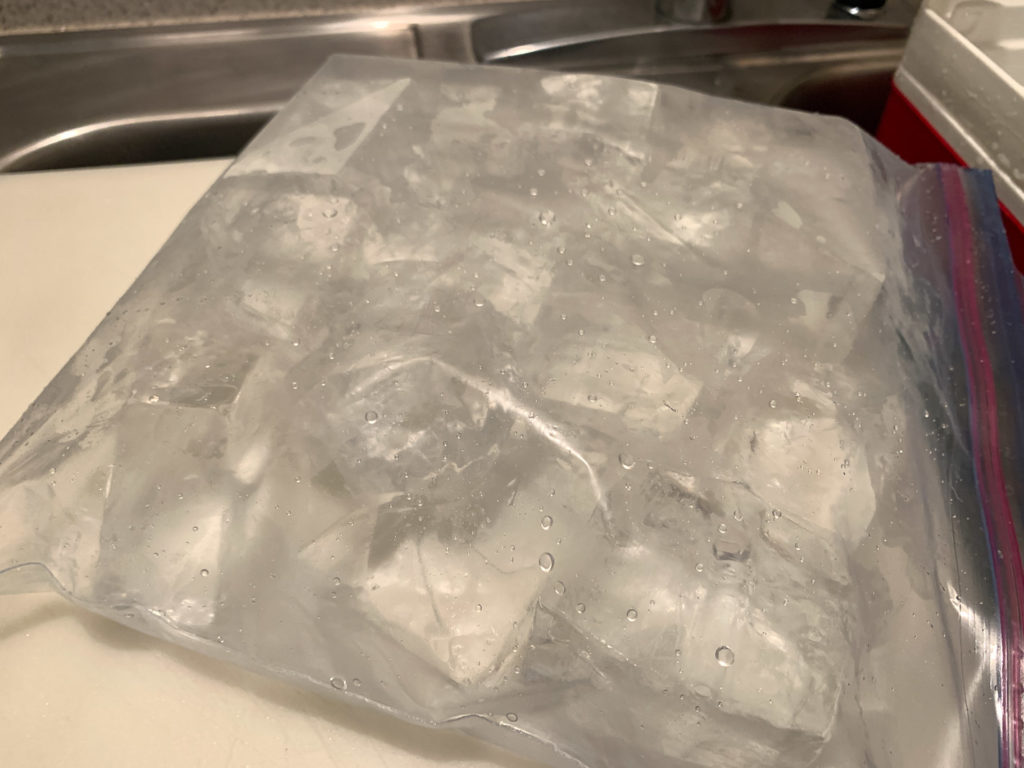
- You can use gallon Zip-Loc bags to store them. After a while in your freezer, they may start to look a little cloudy on the outside but don’t worry, once you pour your favorite liquor over them they’ll clear right up again.
- The cubes may freeze together a bit while in storage but should separate pretty easily with your bread knife or
ice chipper. - I have no scientific information to back this up, but I’ve found if you turn the
ice upside down from the way it was in the cooler and score the bottom of theice block it tends to cut more cleanly. - When you pull your beautifully clear cubes out of the freezer to make a drink, let them “rest” for a few minutes on the counter or in the glass before you pour any liquid on them. More often than not if you make a drink with the
ice right out of the freezer the cubes will fracture and ruin much of the effect you’ve worked so hard to create. By letting them sit for a bit you lower the chances of this happening.


Lazy? Try a Clear Ice Cube Maker
One final thing, too lazy to go through this process and make your own clear
We recommend this one on the budget side of things (it makes clear
Clear ice spheres for under $60?? Sign us up. Works really well, and you can do 4 at a time, where many others are only 2.
So there you go… Everything you need to know to impress your friends and up your home bartender score! Not everyone will be compelled to expend the extra effort to create first-class


Great advice for those on a budget. Not everybody can justify the cost of a commercial ice maker.
Great, informative article! One comment:
The ice ball maker mentioned requires a lot of room and 24-30 hours to freeze only two pieces of ice. Try getting ready for a party with that.
For the same $35.99 on Amazon, the barely larger ClearlyFrozen ice maker freezes ten 2″ crystal clear ice cubes in a fraction of the time.